Delta Ceramics 3D Printer
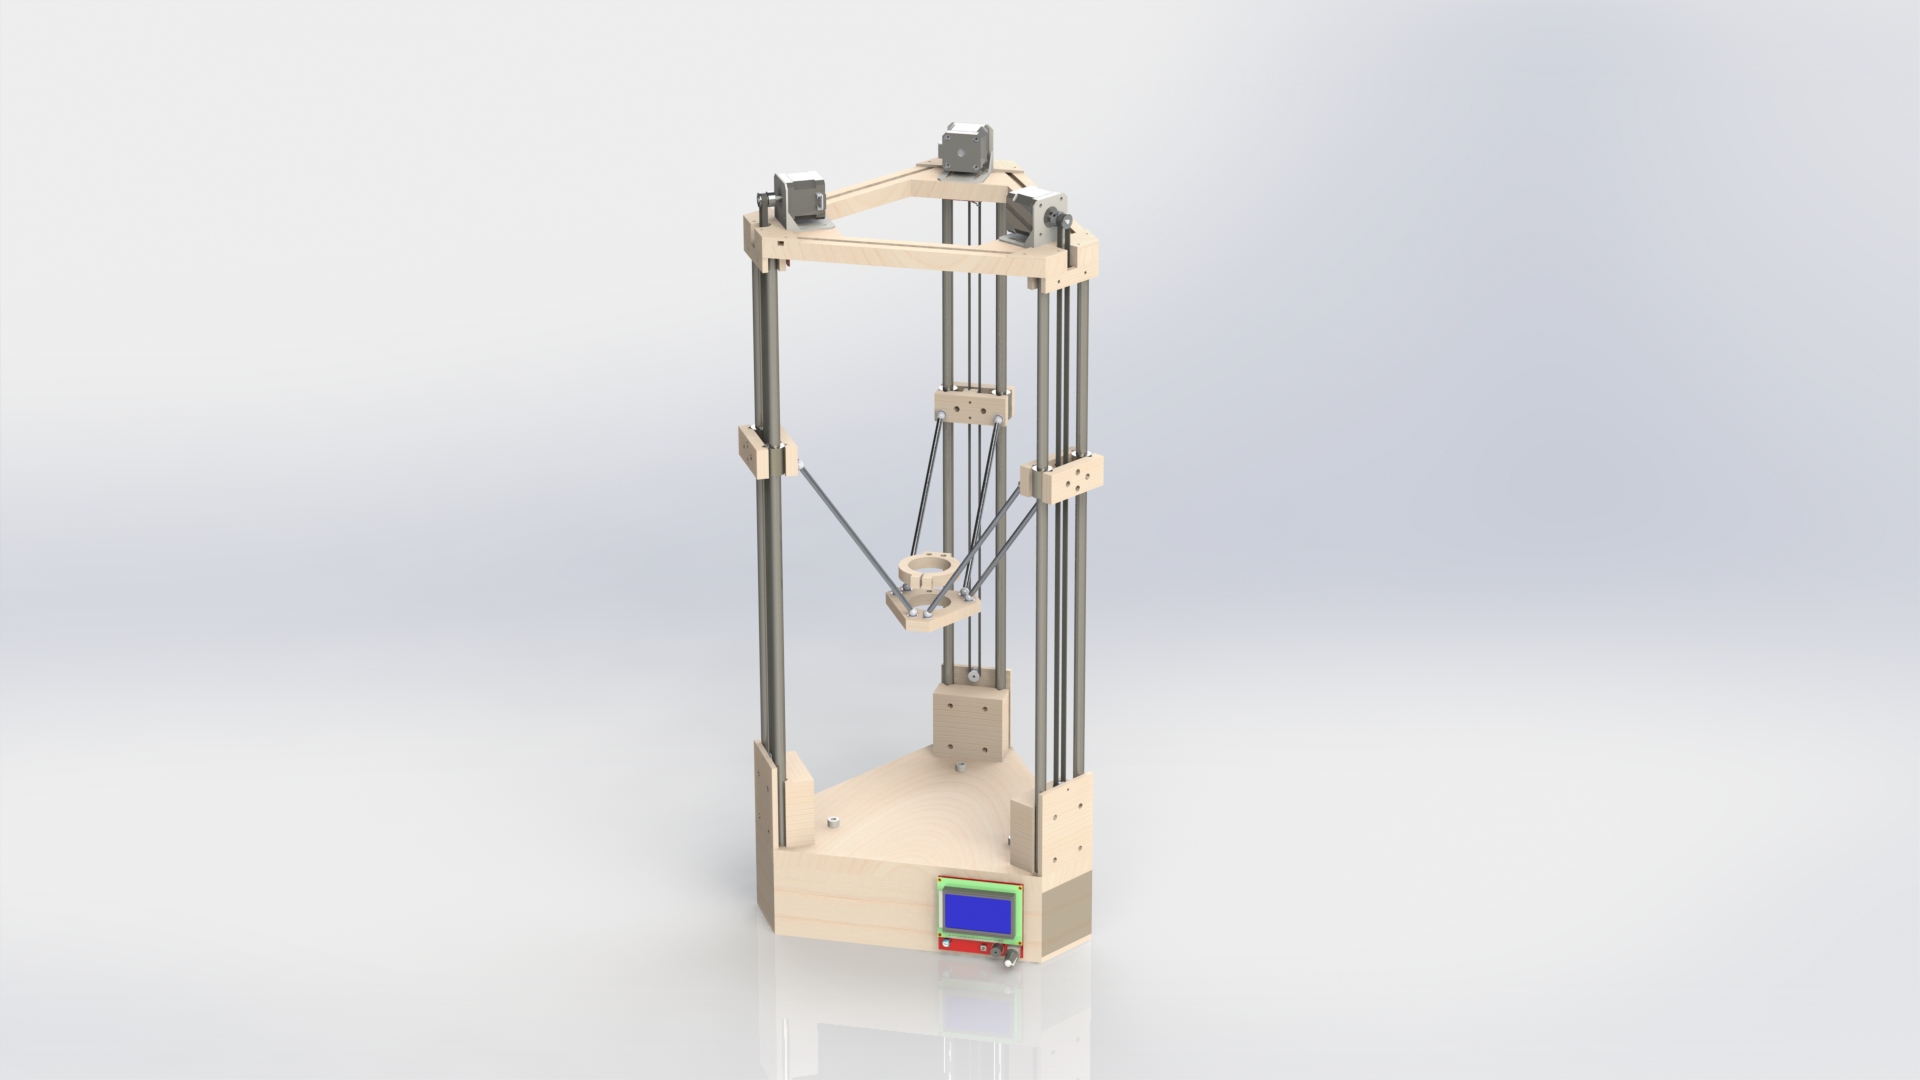
I recently started building a simple hexapod robot as a personal project. My intention is to get a fundamental, thorough experience from designing to building a Starting from July 2019, I am building a Delta-style ceramics 3D Printer with Floor Van De Velde, a Professor from the School of Museum of Fine Arts at Tufts (link to bio). For the first version of our printer, we adapted the design from Jonathan Keep, while making modifications and improvements on several apects, including the three sliding brackets at the sides, fixturing method for the rods, the upper plates, etc.robot (this includes fabricating the structures, selecting and assembling circuit boards and servos, doing some programming on a microprocessor, basic IoT, etc.). This is an ongoing project, so I will be frequently updating the page.
After we did the structure fabrication together, I connected the electronics and configured the Marlin Firmware. We printed out several vases successfully on the first week of September, and have decided to continue working on improving it's performance in all aspects.
This project gets me exposed to all aspects about a custom-build FDM 3D Printer, including stepper motor controls, power management, printer calibration, G-code, and slicing configurations.
Latest Update
We got the printer to work reliably and started to produce some relatively good-looking vases :P. I also get to play with interesting G-code modification, such as non-planar layers and intentional "bad" overhangs.

Here are some time-lapse videos from recent prints.
1. Initial Fabrication
July 22nd - Mid August
We started the project by going through the old list provided by the tutorial. We fixed some broken links and replaced the old electronics board with the latest one available on market. After purchasing all the materials, we made re-designed alot of the fabrication files to fit the dimensions of the components we got. The main structure (base & top) were machined on an X-Carve machine using MDF and Plywood.
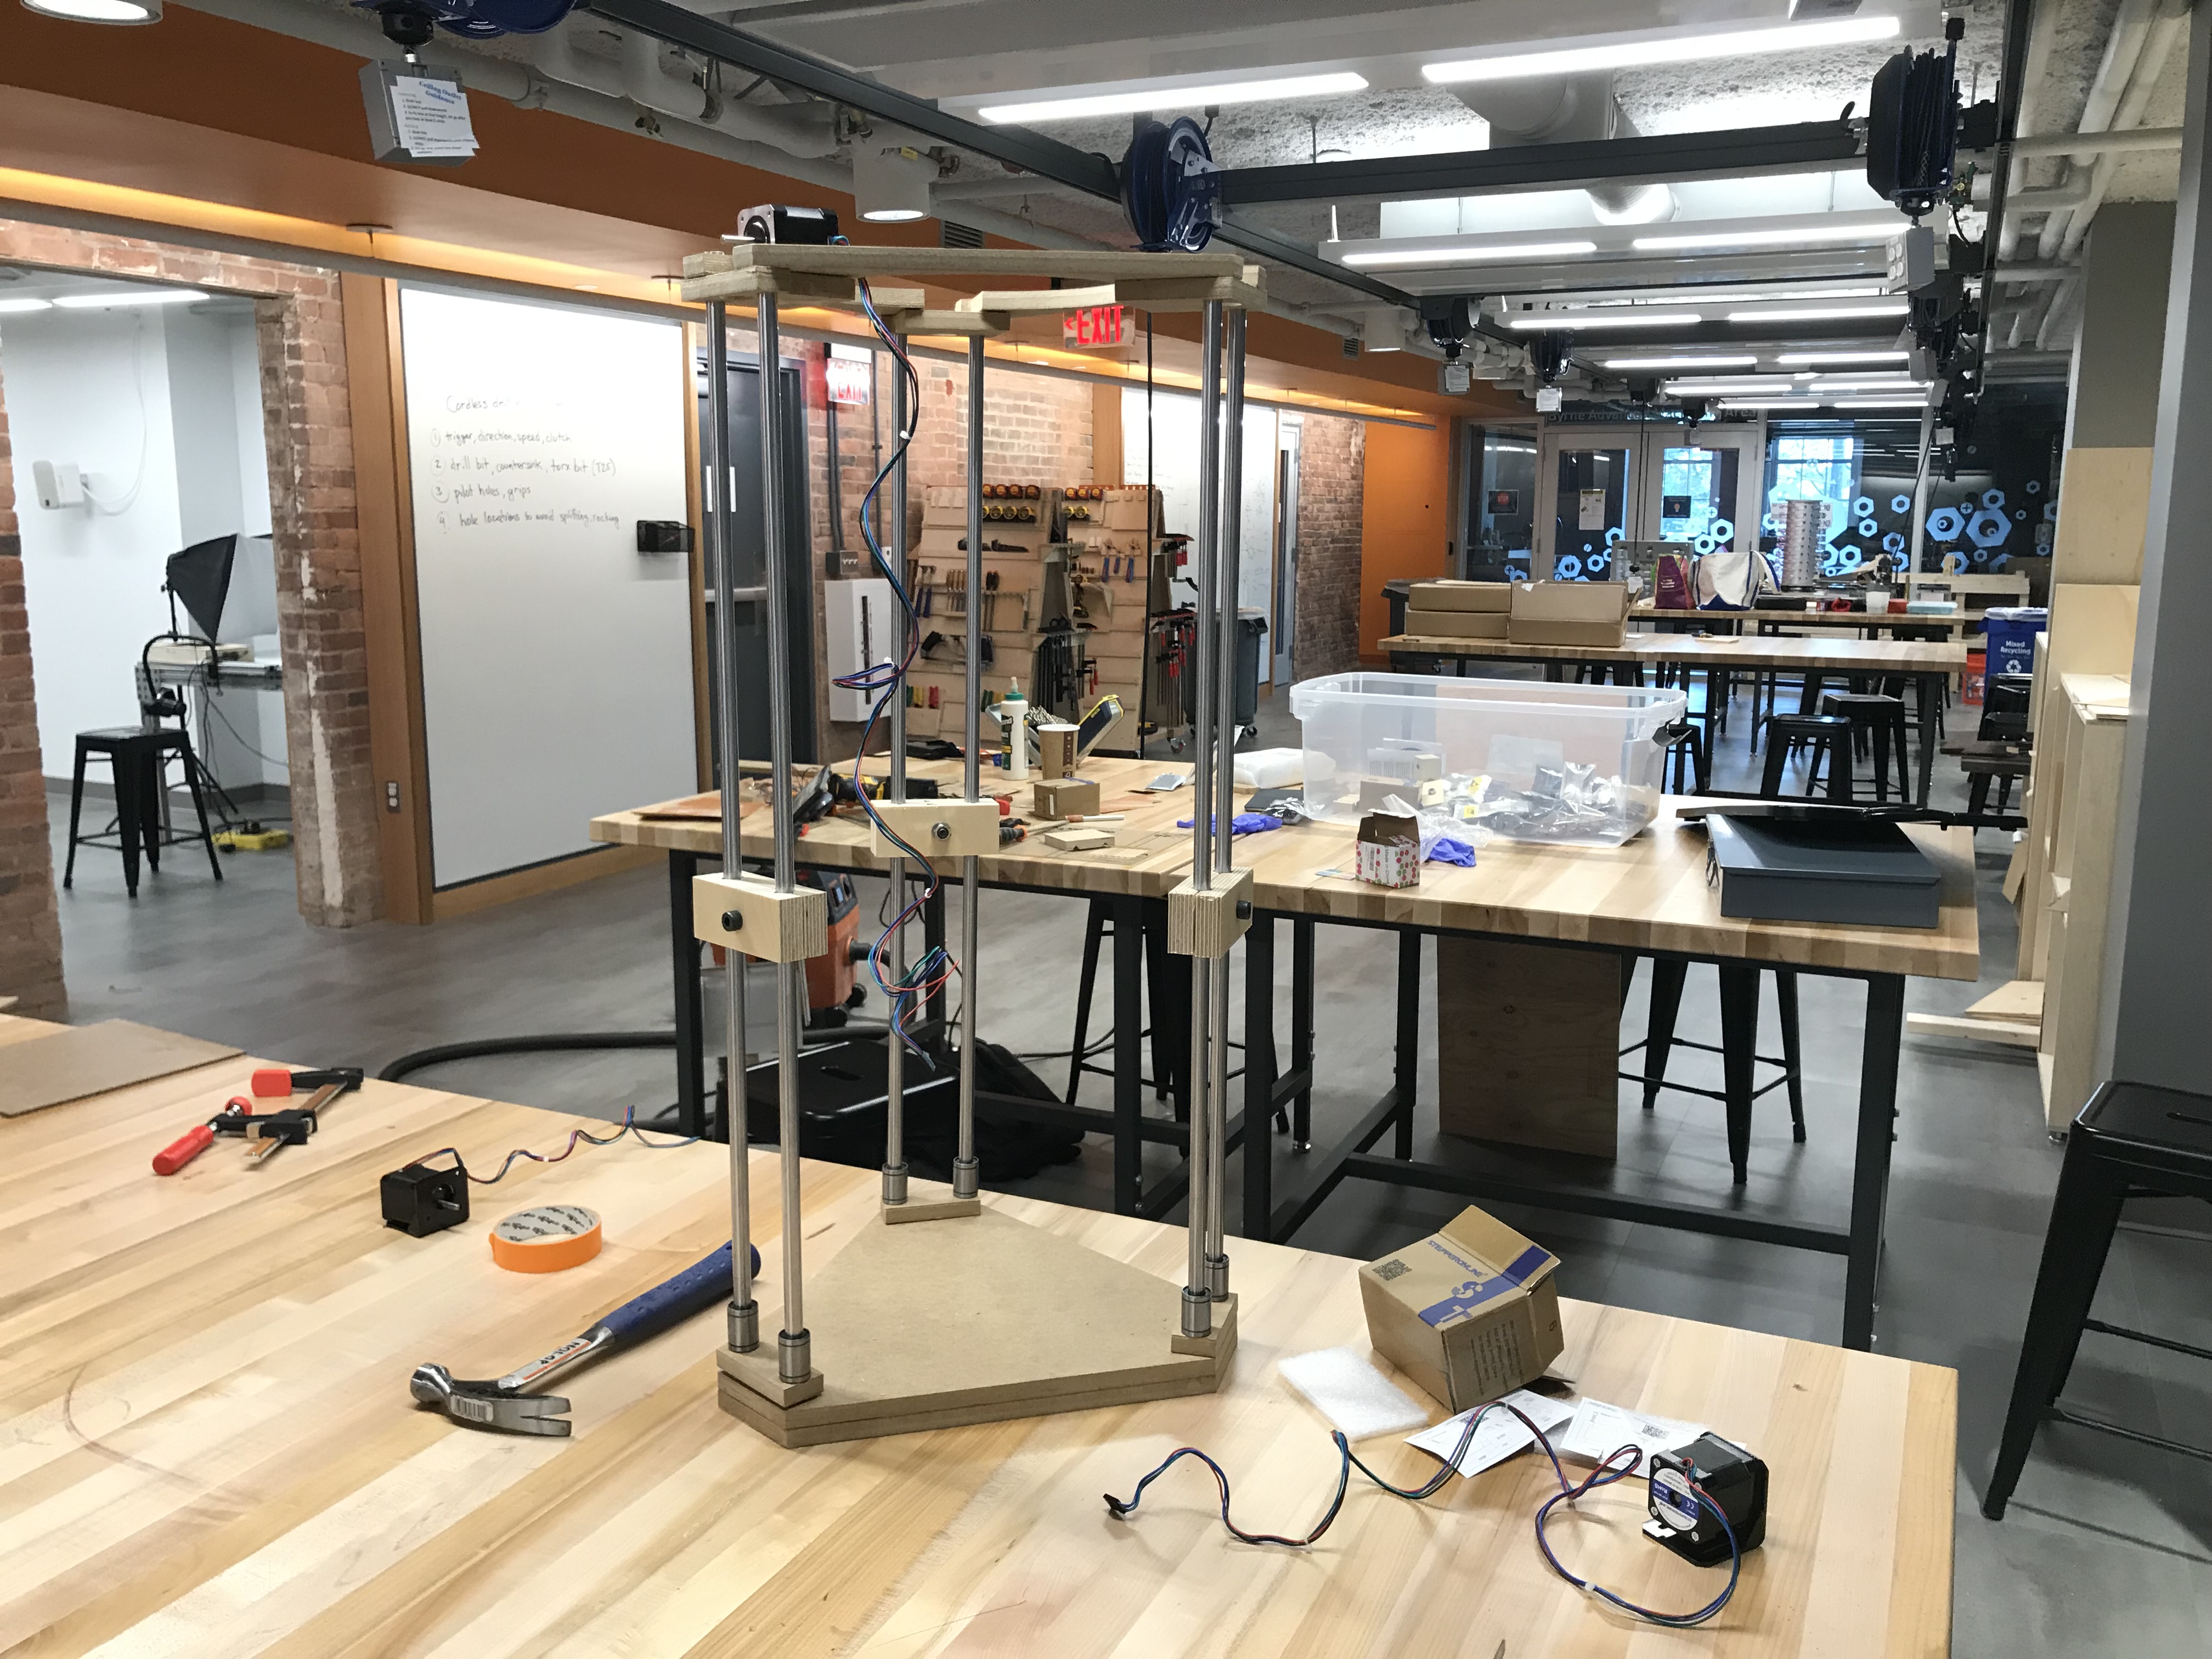
Building in Progress
2. Electronics and Calibration
Mid August - September 10
After finishing the physical build with Floor, I set up the RAMPS1.4 board, plugged in all the wires, and configured Marlin to be used on the printer. This is the first custom-made 3D printer I've built, so it took me a while to figure out how to edit the preferences in the Marlin firmware. I also used a potentiometer to "trick" the temperature sensor. After all the firmware configuration is complete, I designed a simple base plate to organize the power adapter, the board, and the LCD screen (shown in final setup).
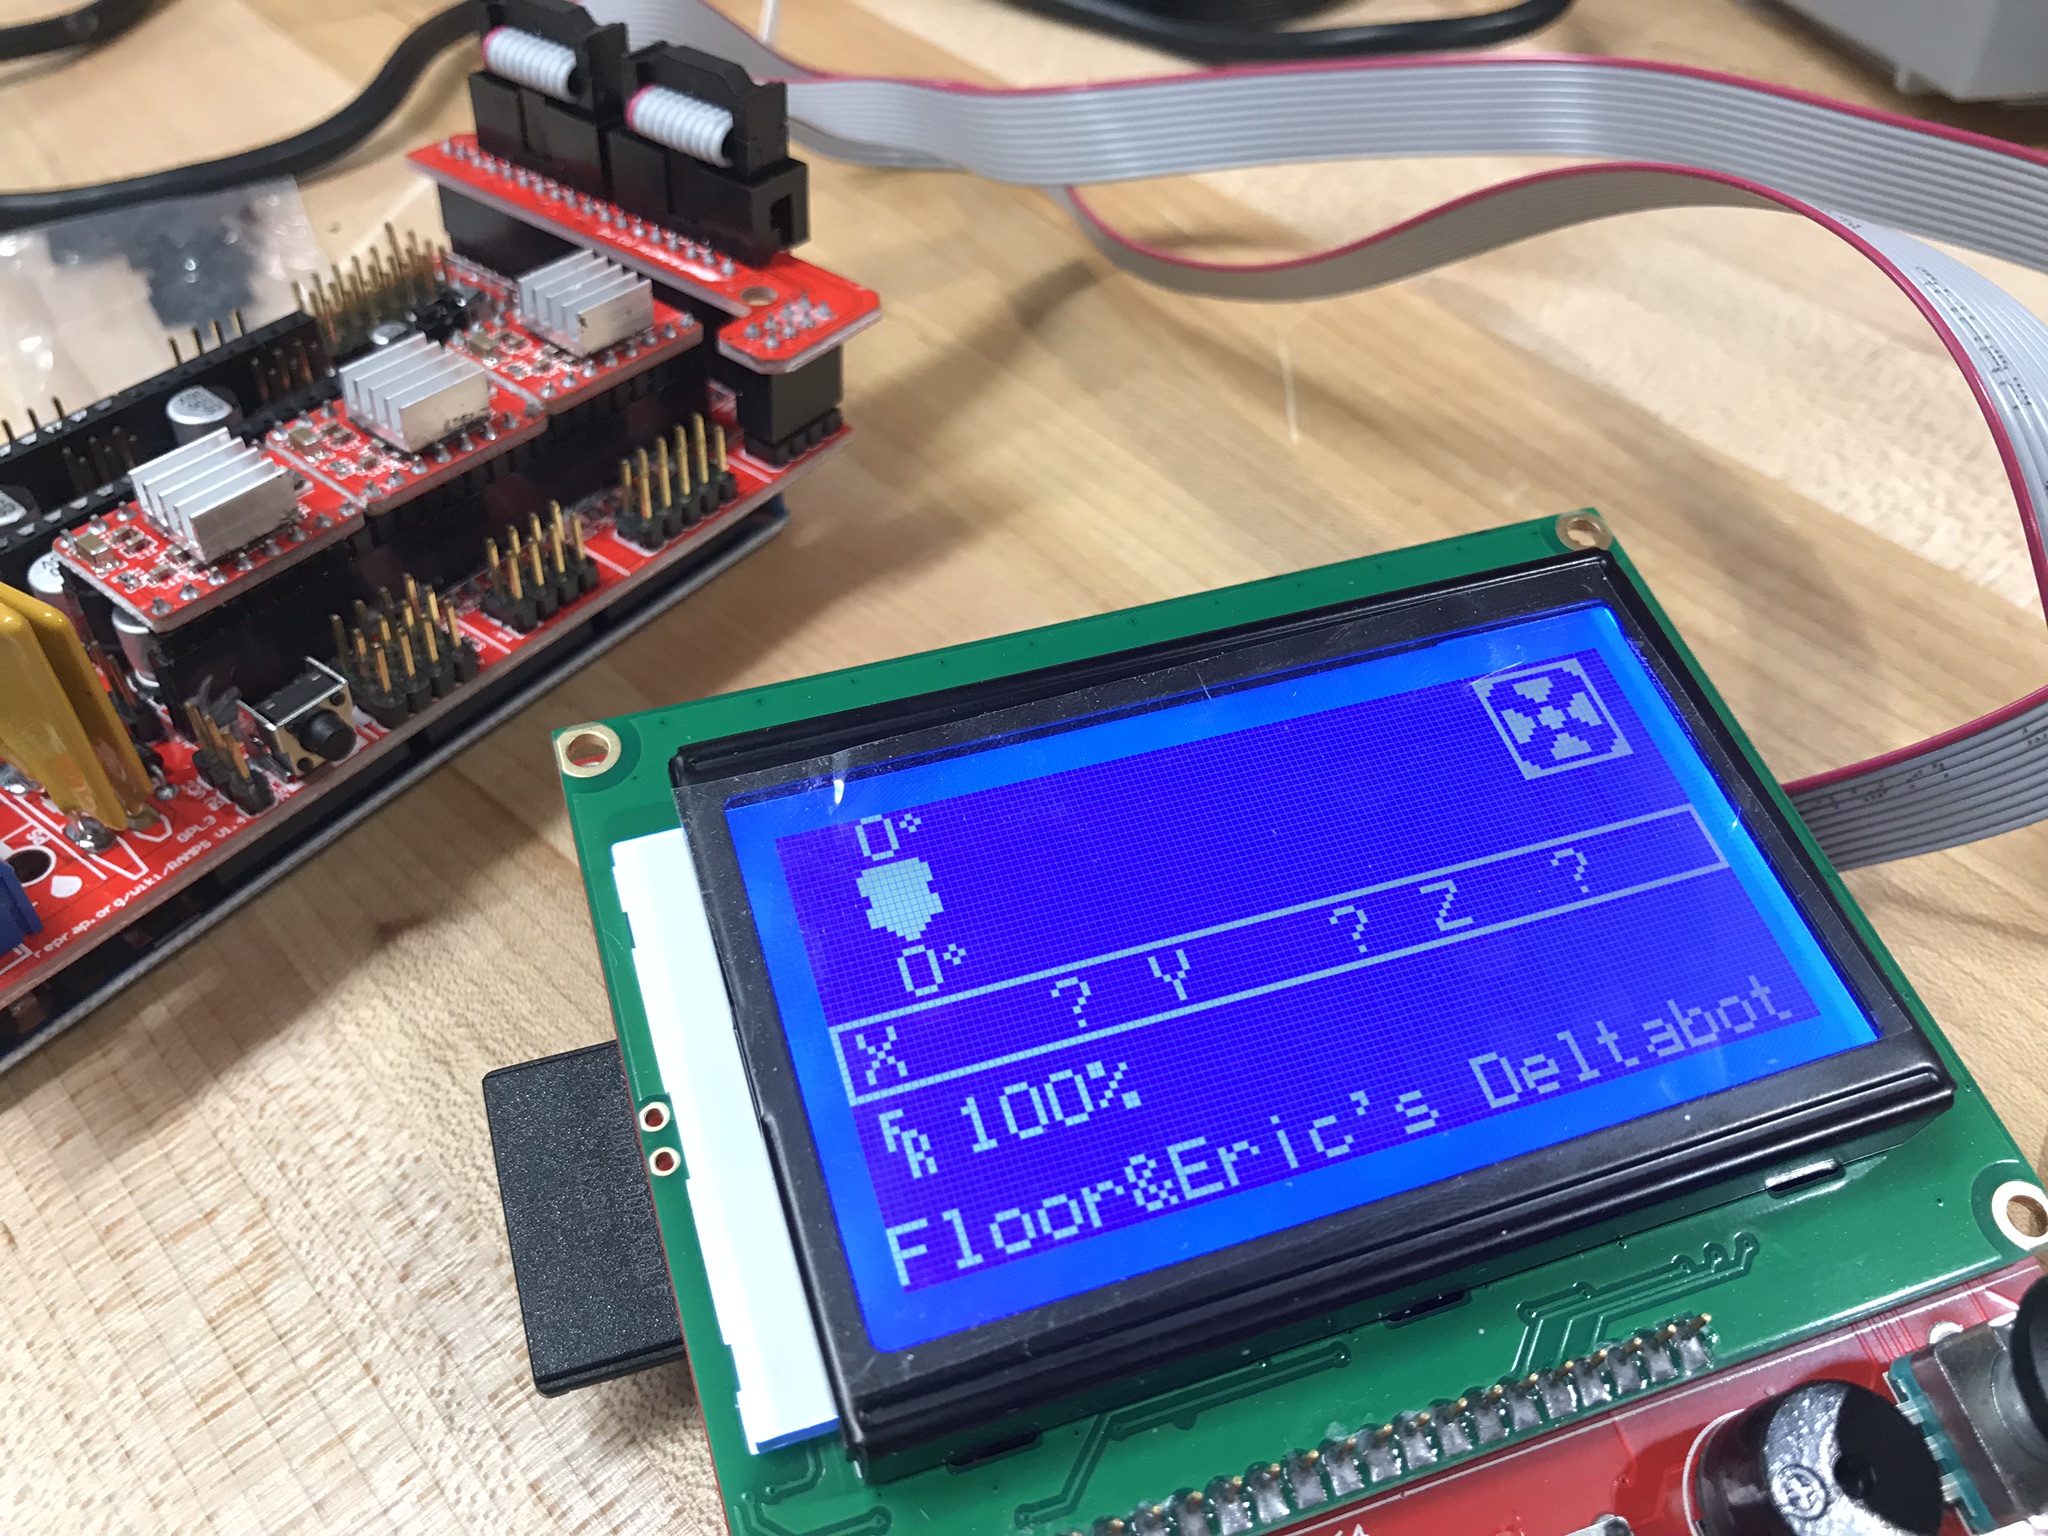
Printer firmware configuration (Marlin)
3. First Print
September 2012
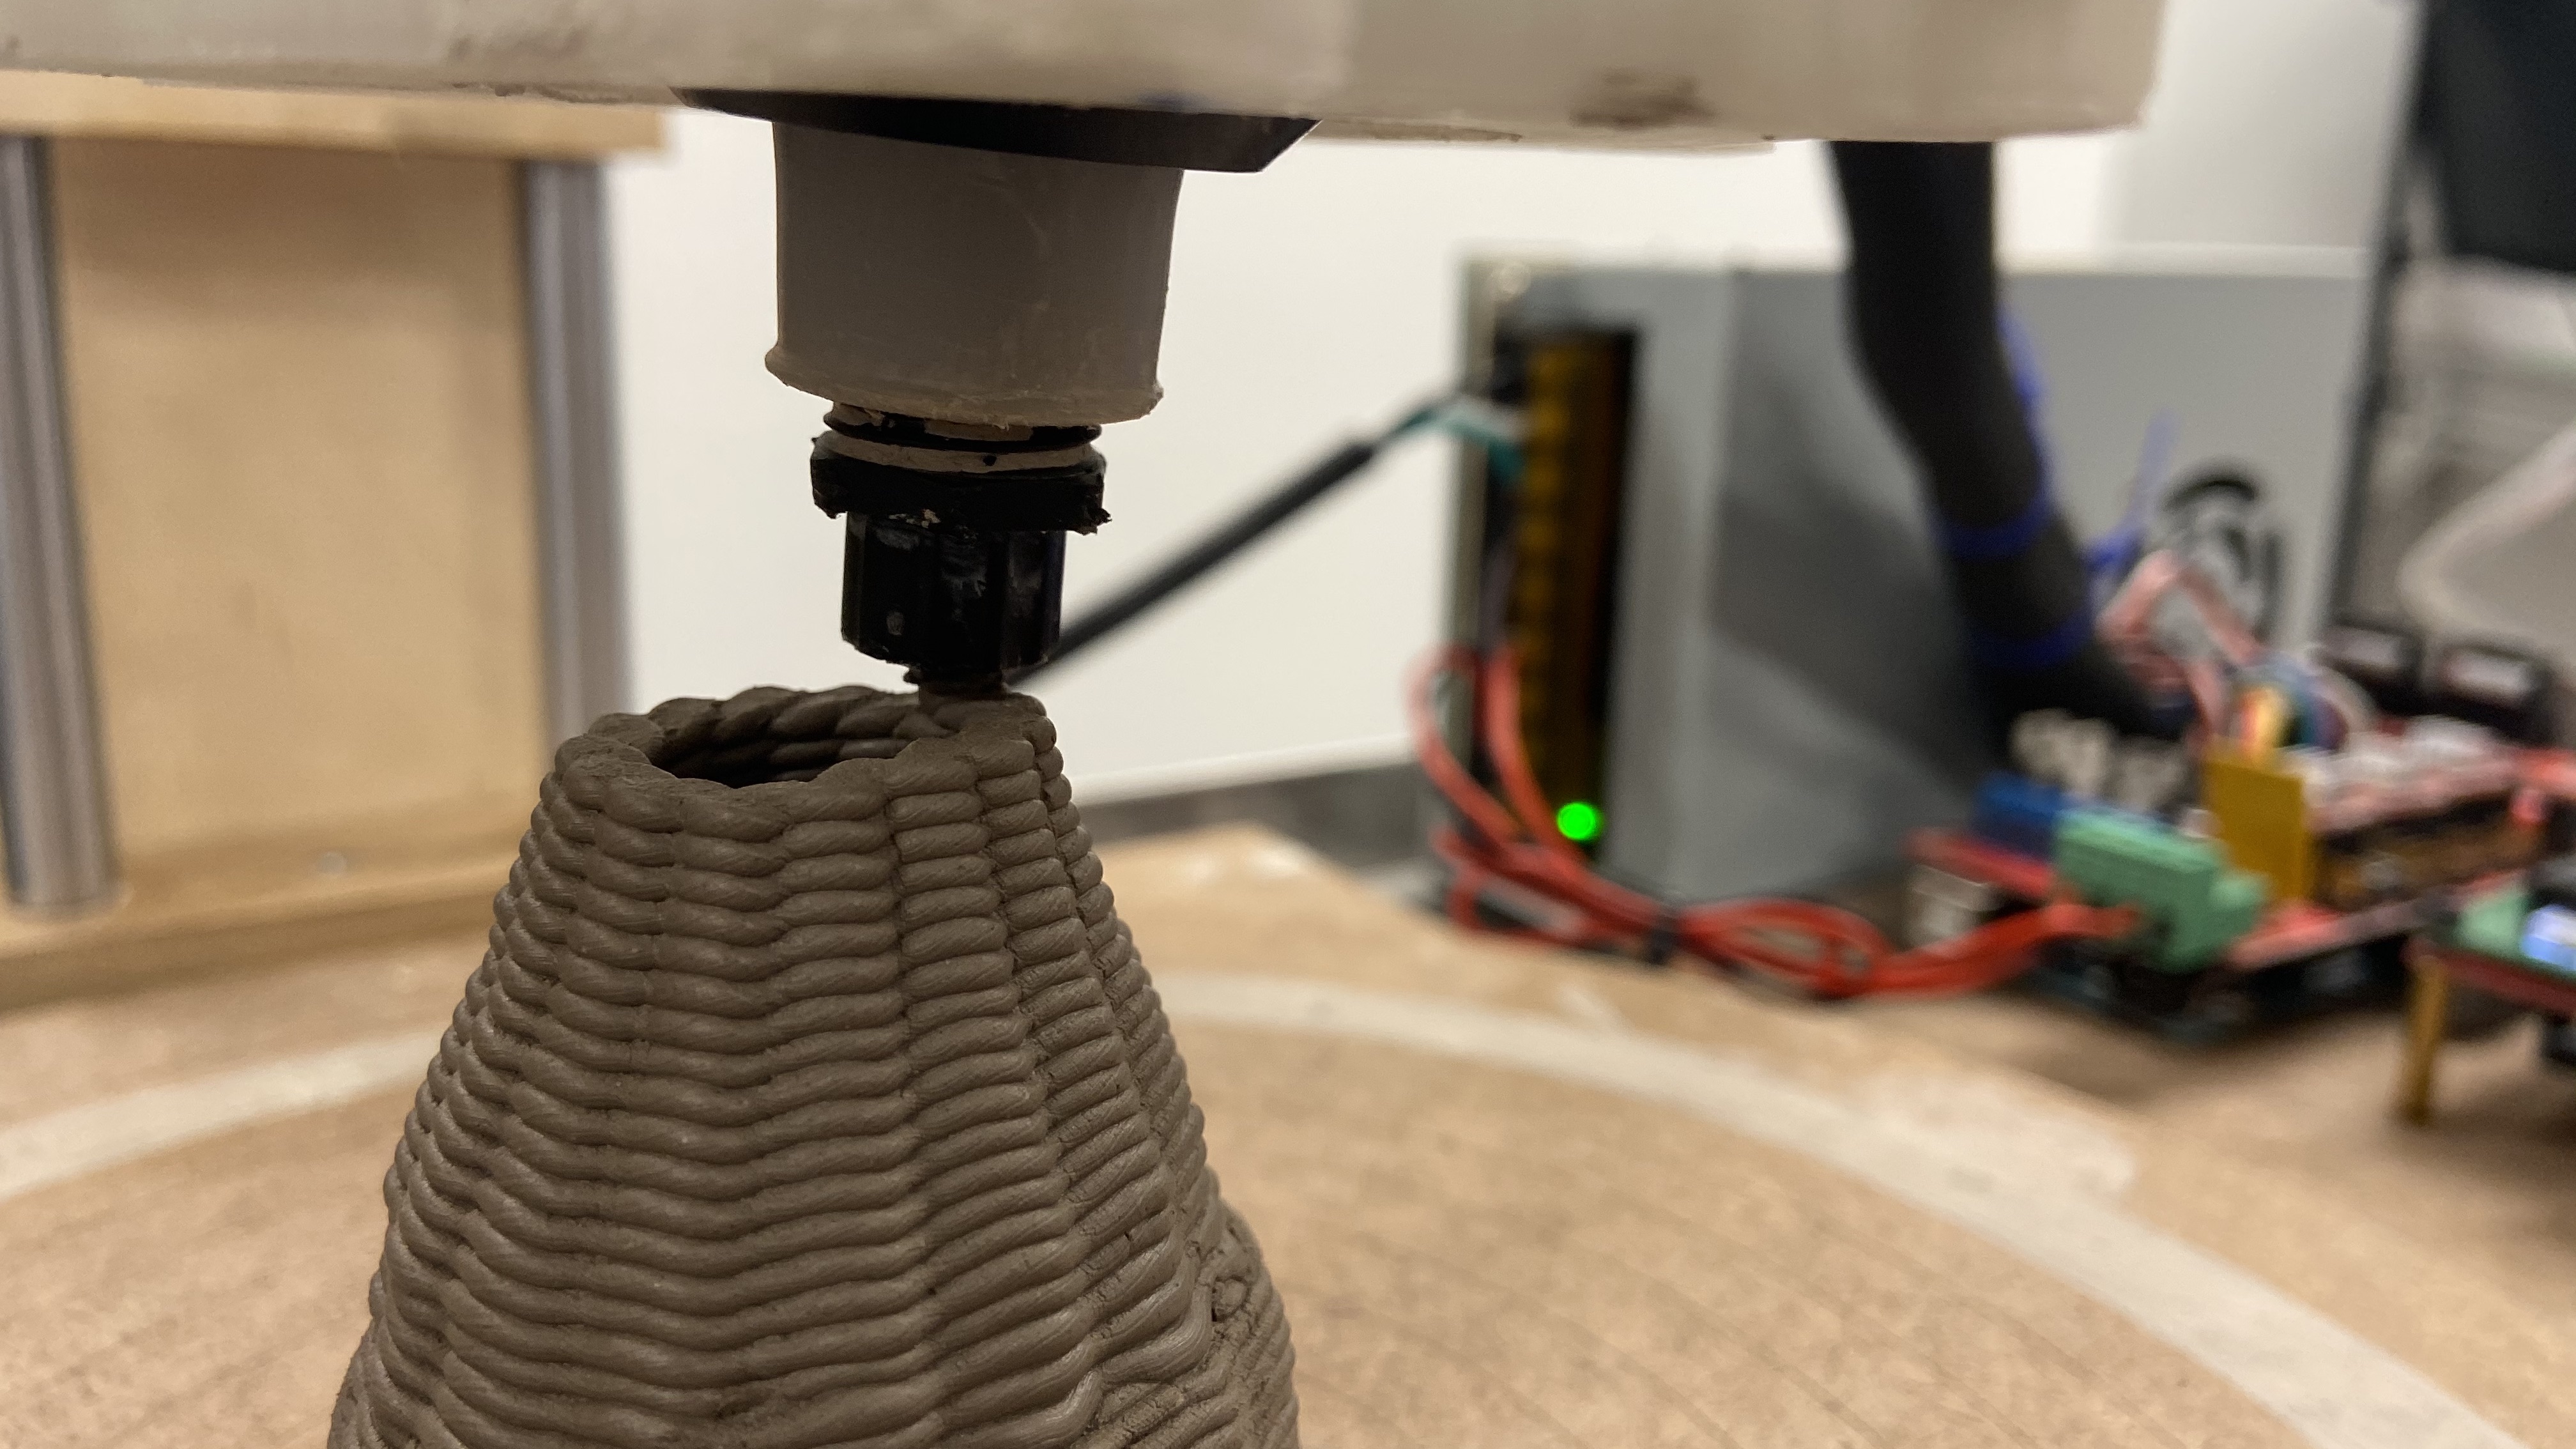
After two weeks of calibration, clay preparation, and electronics debugging, we finally made our first successful print! The extruder is working consistently and the stepper motors are interpreting G-code fairly accurately. While this is a great start, we still have a lot of improvements to make: finding a more suitable nozzle, securing the stepper-motor belt, improving the calibration process, etc.
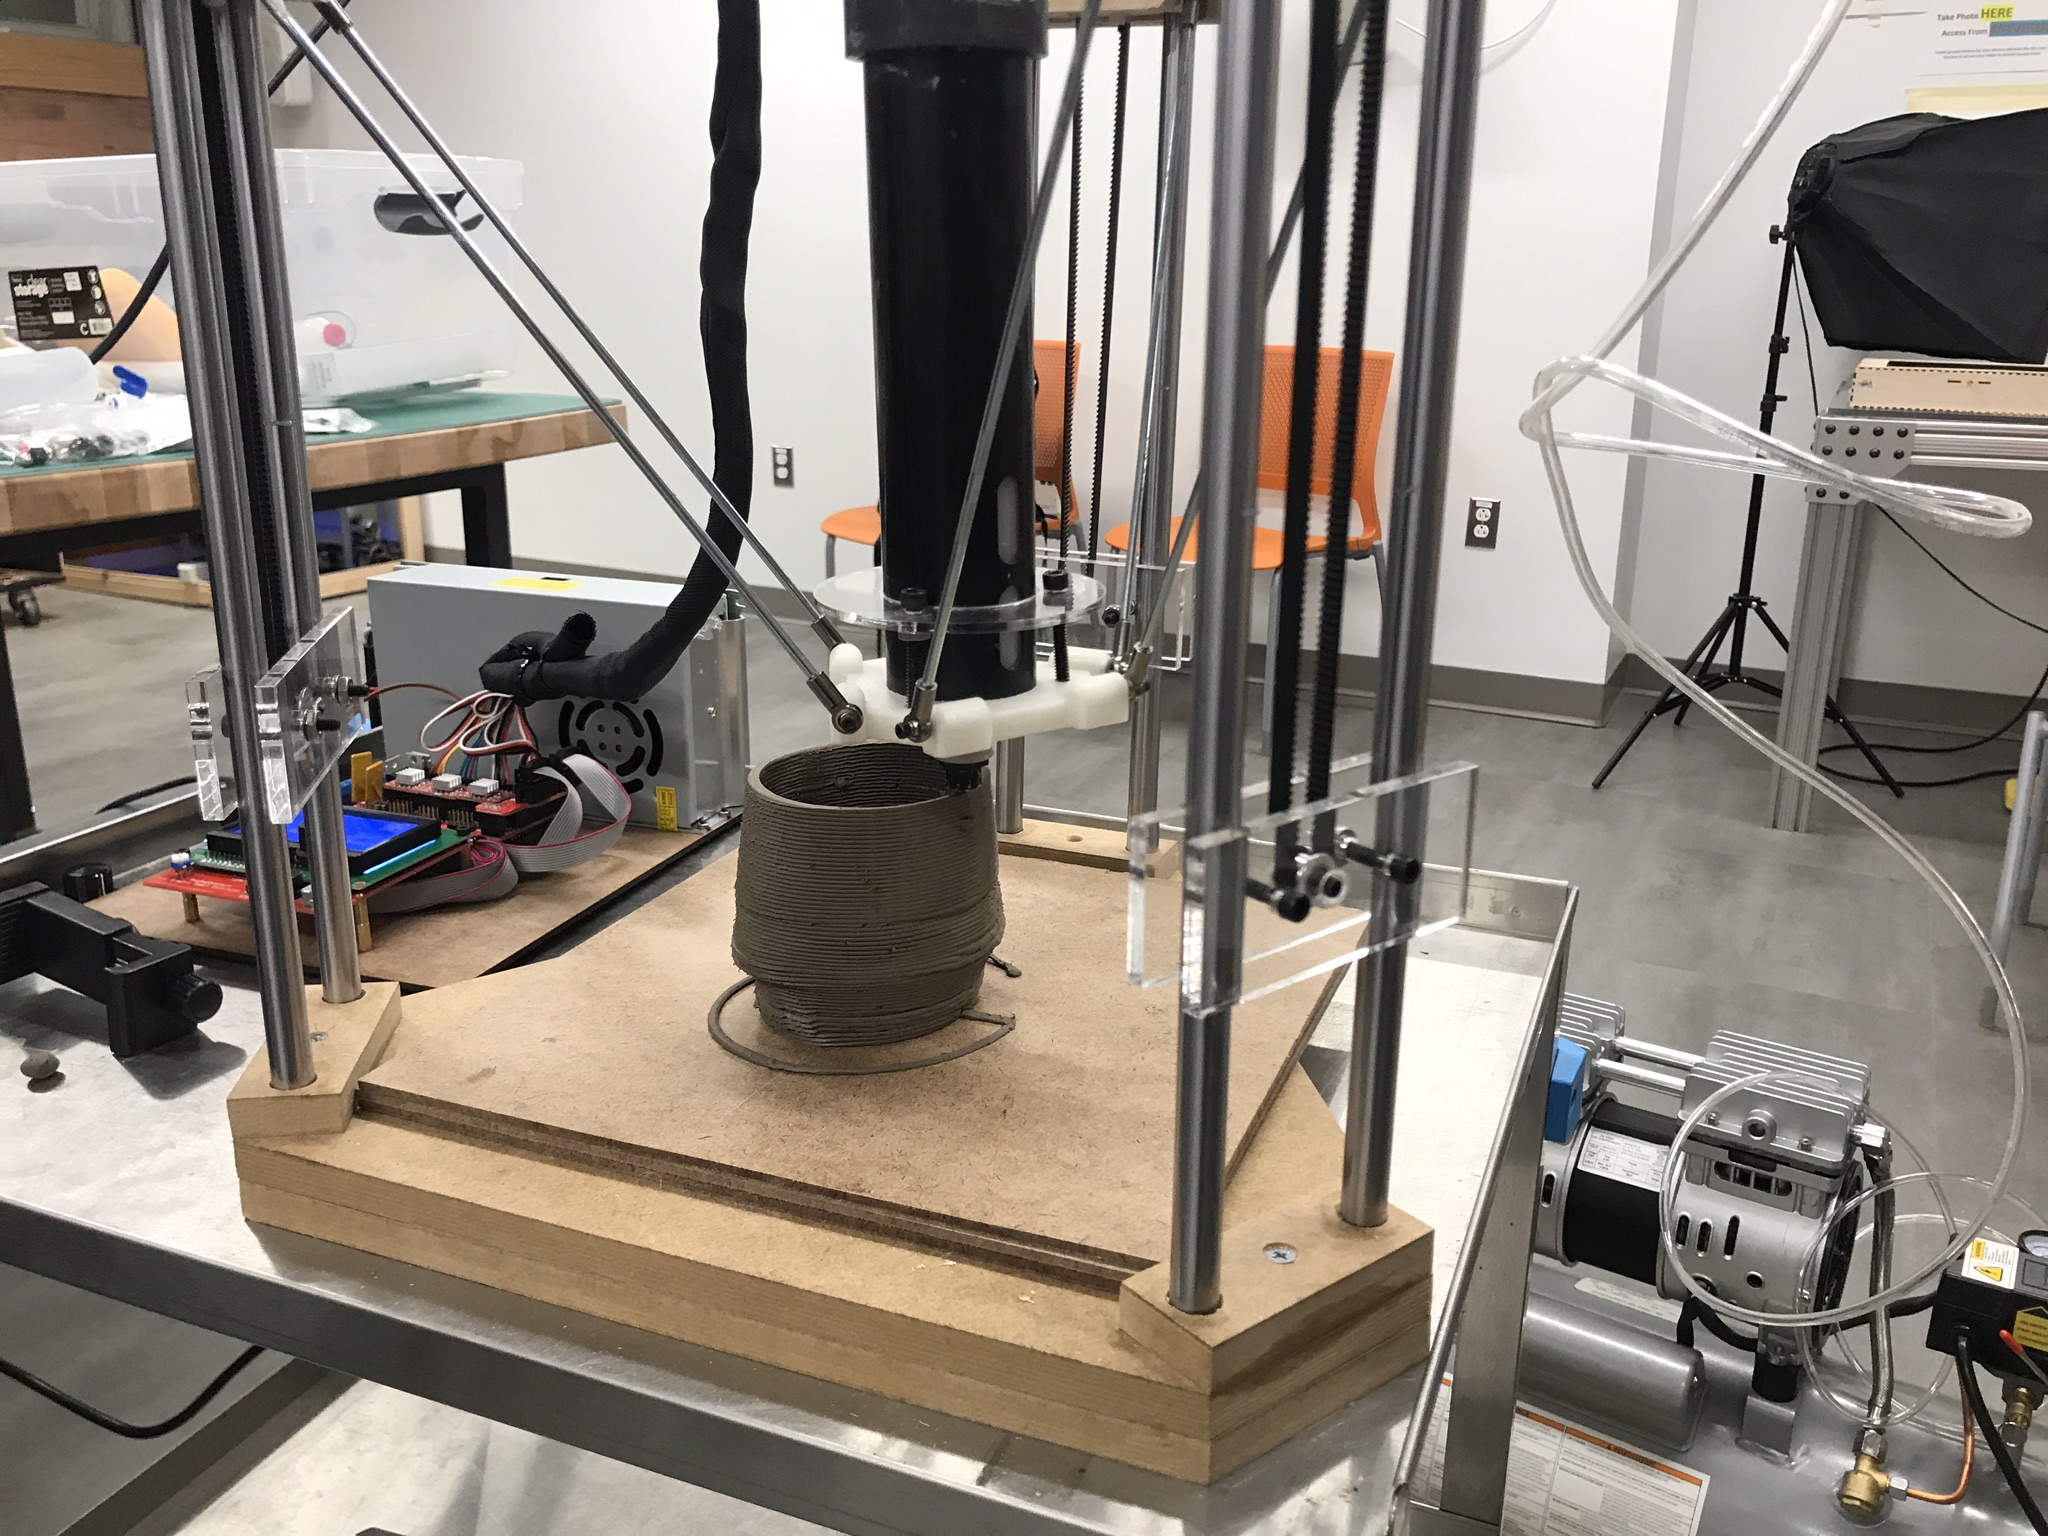
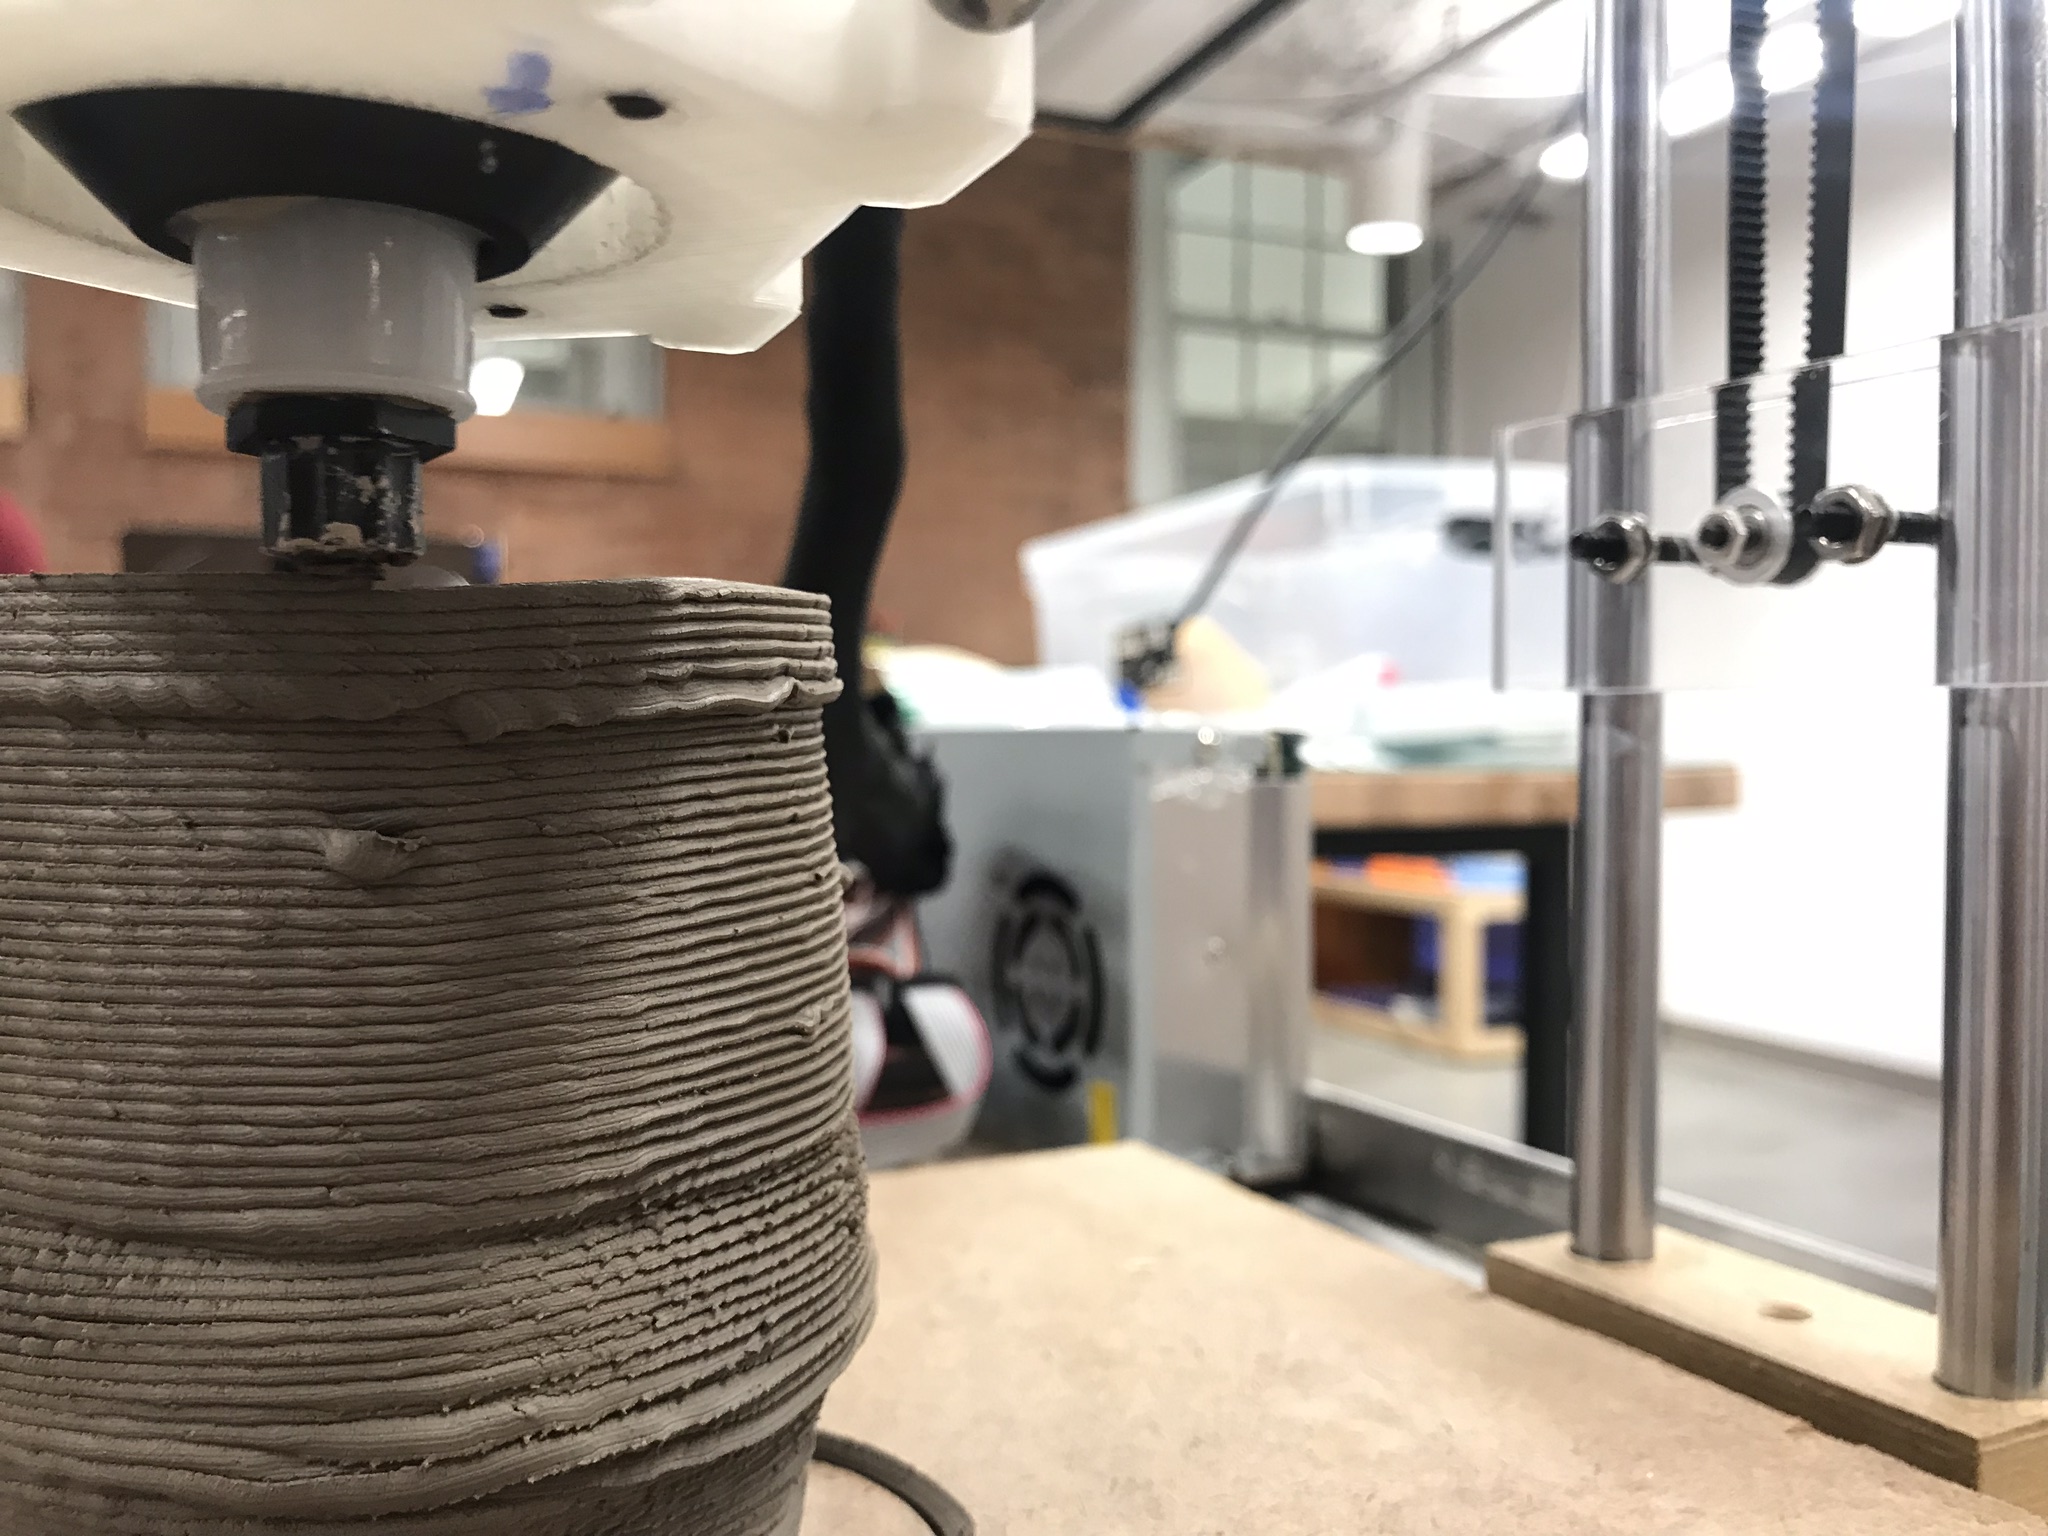


Printer worked for the first time. 09-10-2019
4. Printer Improvements
After our first successful prints, I made some changes to the original design to improve the structural integrity and look of the printer:
- Fixture method for the center black cylinder
- New locking structure for the timing belts at the bottom
- New fixture method for the linear bearings
- Replaced some of the MDF parts to be Baltic Birch Plywood
- Wire Management


Open-source design vs. our printer after improvements